PLC Controls and Setpoints
The Controls menu holds the adjustable setpoints that are not part of a calibration routine — the cooling-fan and LCD-screen-heater setpoints and the Tank Heat thermostat — and the PURGE screen used for the air purge. This page also covers the fill time limit, which is part of the refill protection logic and is reached through the Calibration menu. Read its section before changing it.
Where each screen is
The Controls screens are a chain. Press F2 from the home screen, enter the password, and select Controls: the first screen opens. Use the next and previous arrows on each screen to move along the chain.
| Screen | How to reach it |
|---|---|
Menu → Controls |
|
Menu → Controls → next |
|
Menu → Controls → next twice |
|
Menu → Controls → next three times |
|
Menu → Calibration → Tank → next twice (after TANK LOW % CAL and TANK High % CAL) |
|
PLC navigation at a glance
|
Cooling fan
The PLC switches the cabinet cooling fan from the cabinet ambient temperature probe. The fan turns on when ambient temperature reaches the High setpoint and stays on until it falls to the Low setpoint. The gap between the two setpoints keeps the fan from switching on and off rapidly around a single temperature.
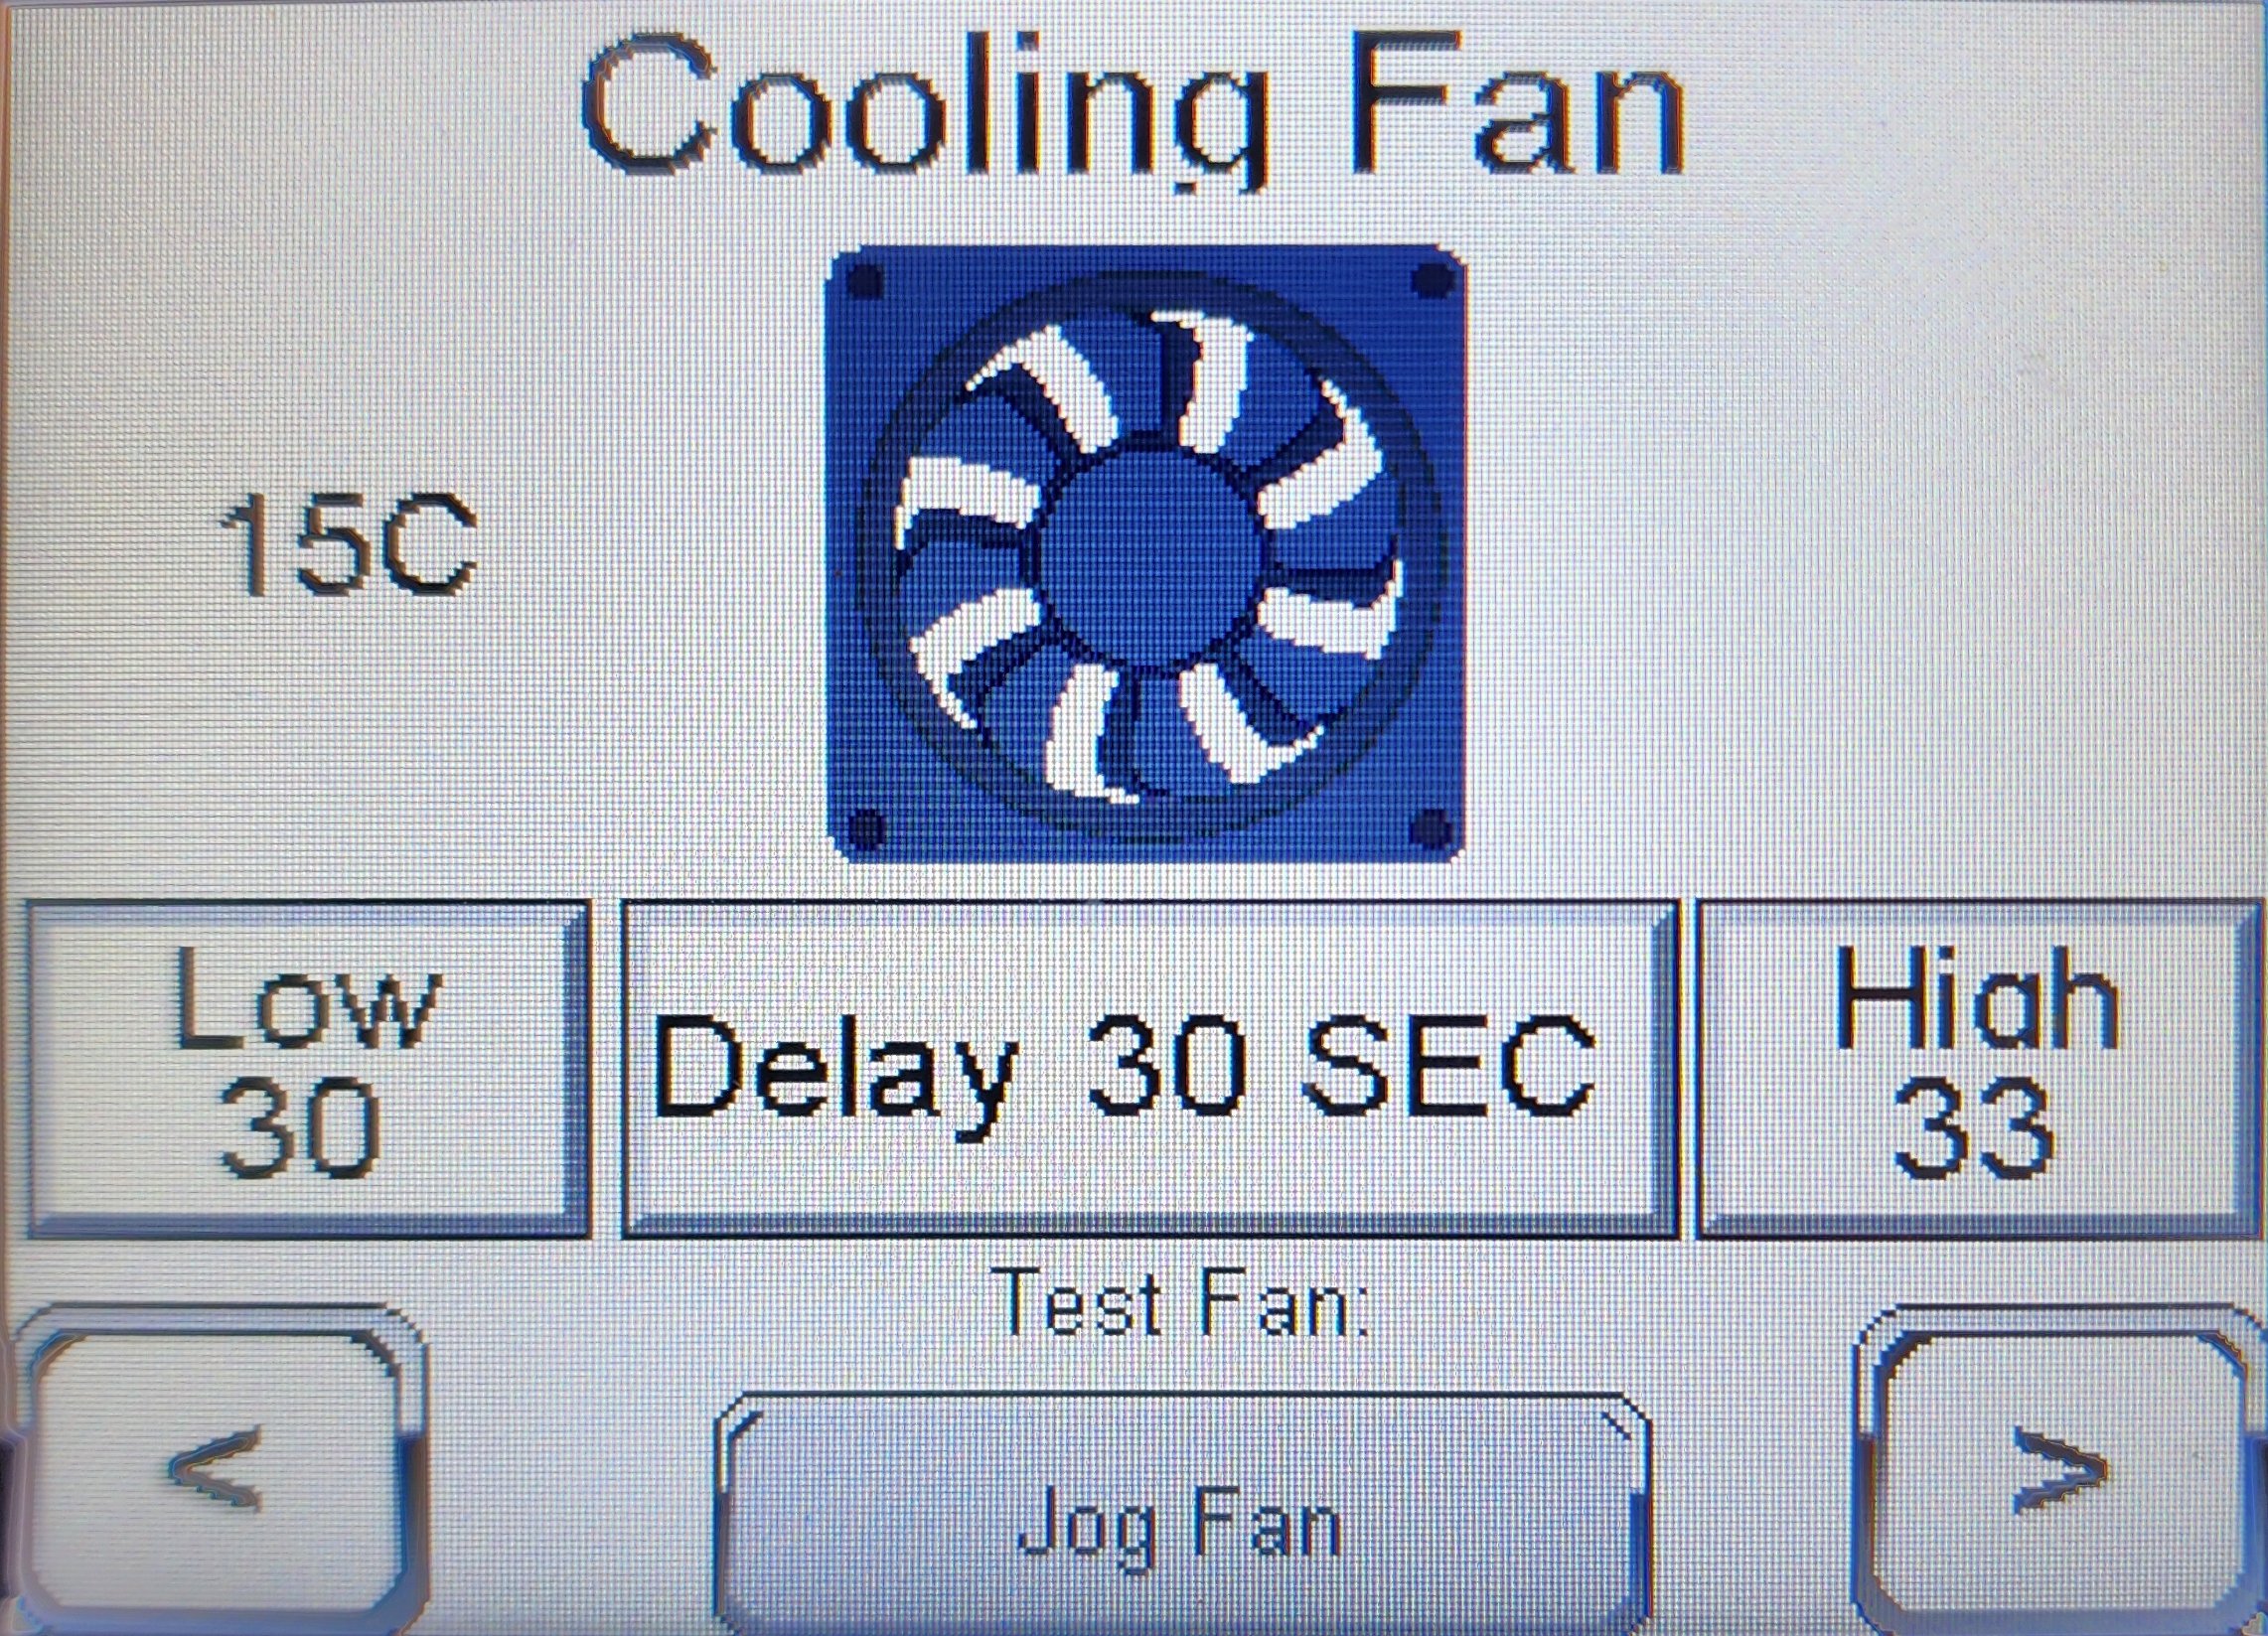
| Field | Meaning |
|---|---|
Low |
Ambient temperature (°C) at or below which the fan turns off. Default 30 °C (86 °F). |
High |
Ambient temperature (°C) at or above which the fan turns on. Default 33 °C (91 °F). |
Delay |
Minimum delay between state changes (default 30 s) — prevents short-cycling near the setpoint. |
Jog Fan |
Manual fan run for verification — energizes the fan output for a brief test. Use during commissioning or after maintenance. |
LCD screen heater
|
Deprecated
The LCD screen heater is deprecated. Current units are built without it. On a unit without the heater, the LCD Screen Heat screen and the LCD Heater line on the Status screen are still shown but have no effect. |
The HMI display is heated in cold weather to keep the LCD readable and within its operating temperature. The PLC switches the heater from the temperature sensor at the HMI screen: the heater turns on at the Low setpoint and off at the High setpoint, with a delay between state changes.
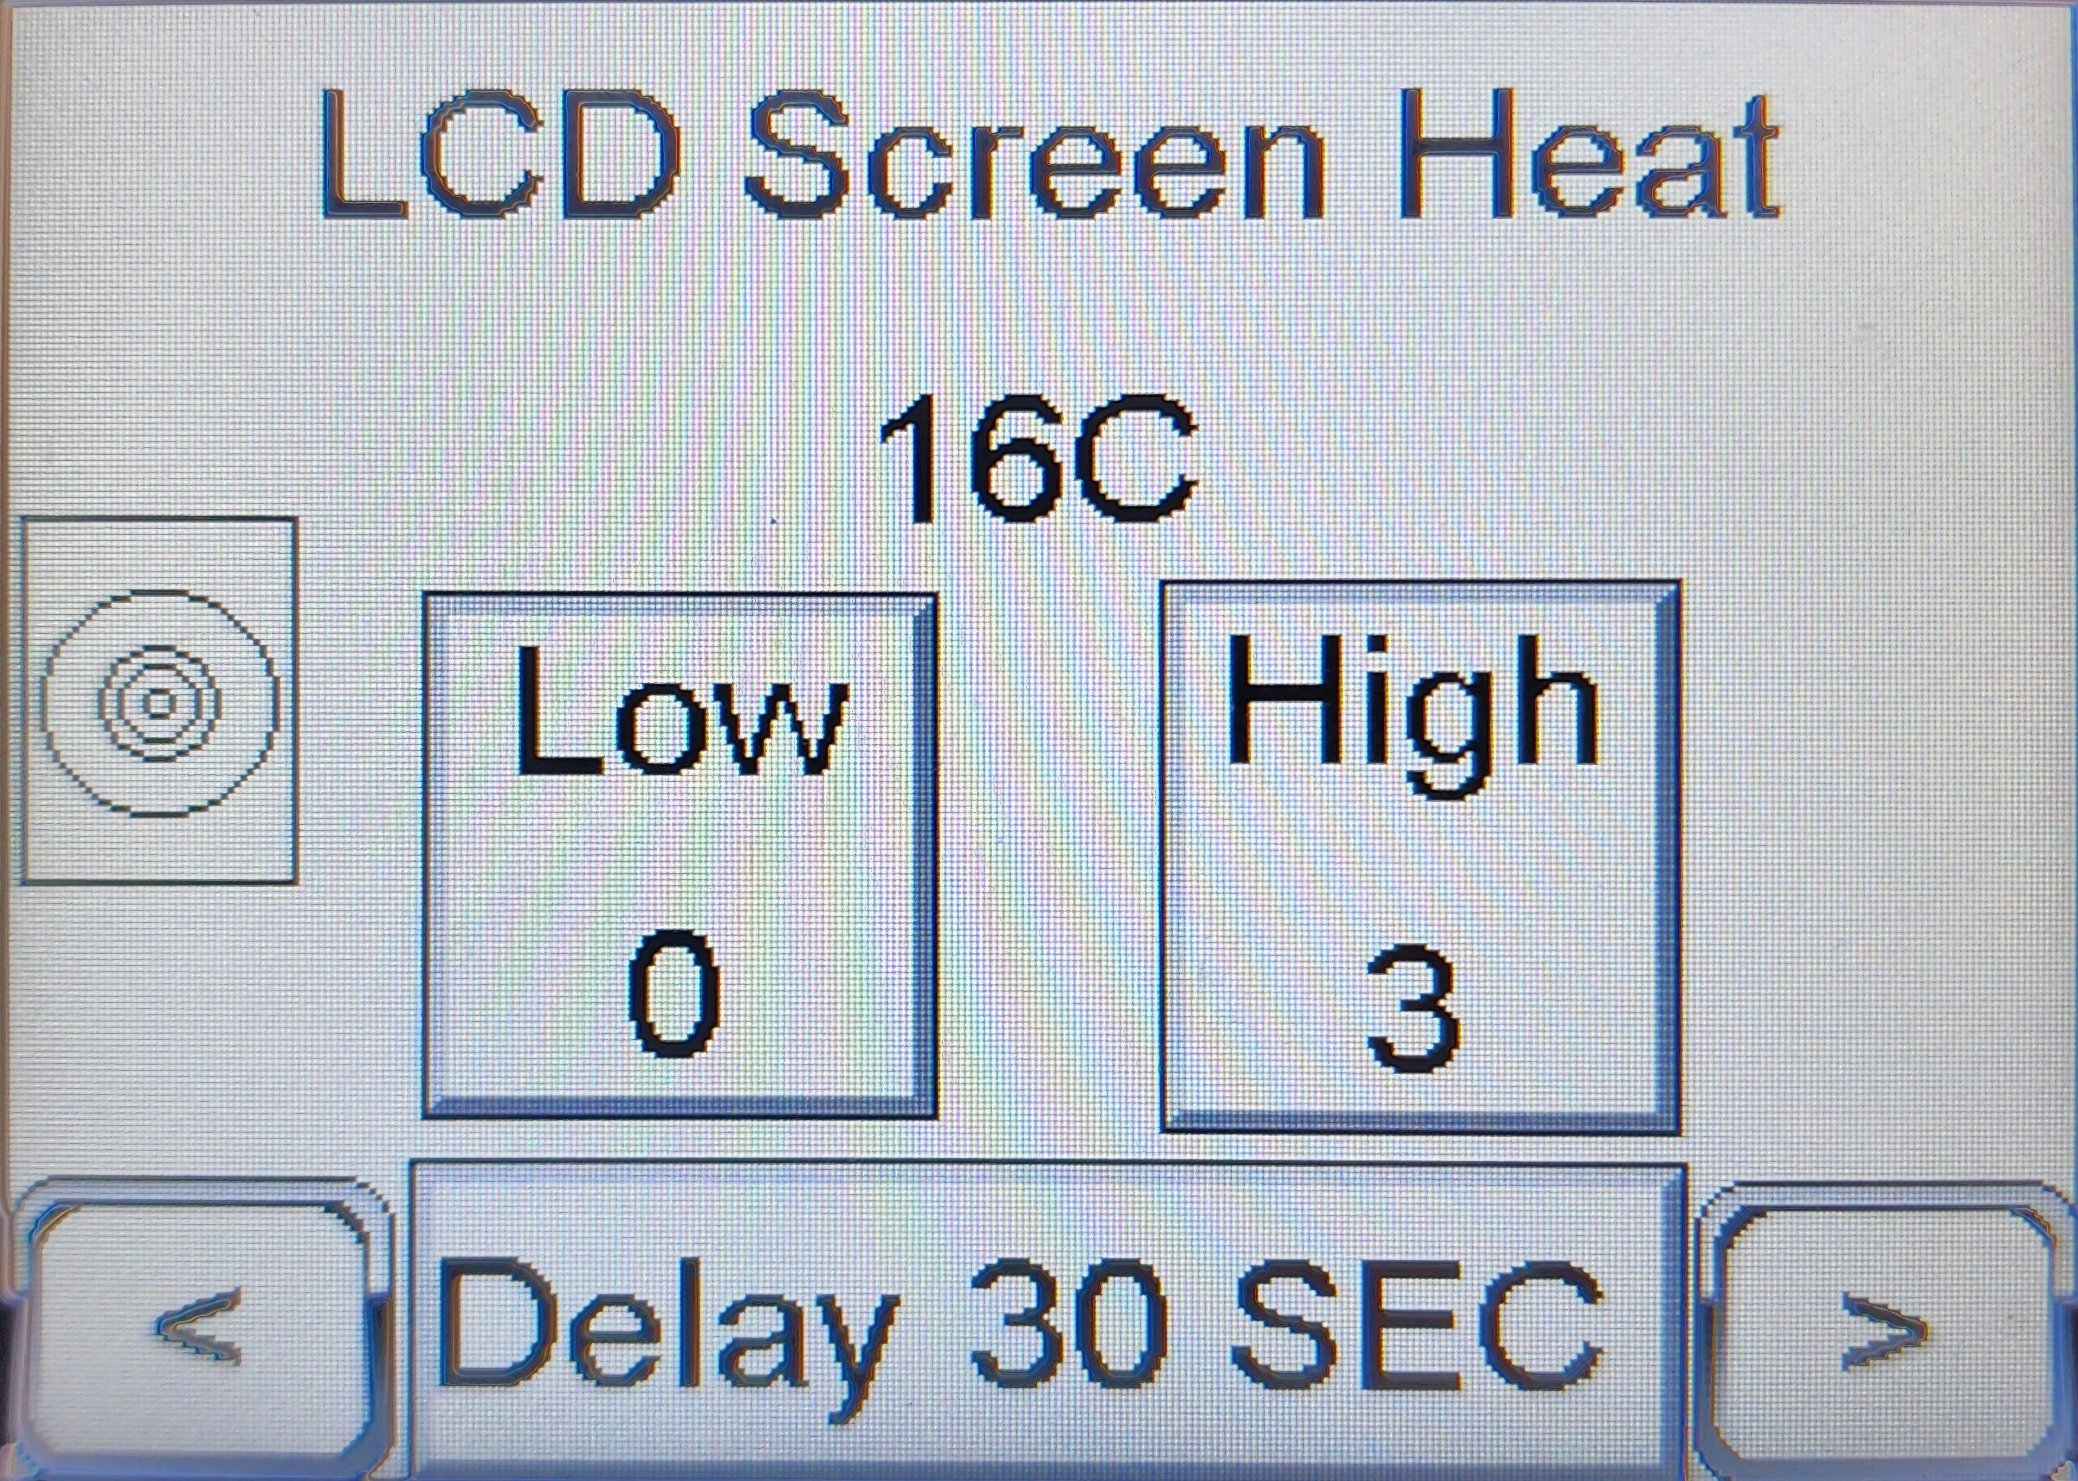
| Field | Meaning |
|---|---|
Low |
LCD temperature (°C) at or below which the heater is on. Default 0 °C (32 °F). |
High |
LCD temperature (°C) at or above which the heater is off. Default 3 °C (37 °F). |
Delay |
Minimum delay between state changes (default 30 s). The PLC accepts up to 60 s. |
Tank Heat
The Tank Heat screen sets the PLC thermostat that holds the boiler off once the storage tank is above its target temperature. The screen shows the live tank temperature.
| Field | Range | Default | Meaning |
|---|---|---|---|
Target |
80–195 °F |
195 °F |
Tank temperature above which the PLC holds the boiler off. |
Hysteresis |
1–50 °F |
10 °F |
How far the tank must cool below Target before the boiler is allowed to run again. |
Delay |
Up to 60 s |
1 s |
How long the tank must stay below Target minus Hysteresis before the boiler is allowed to run again. |
While the thermostat is holding the boiler off, the banner reads Enabled - Target Reached. How the thermostat works with the boiler’s own controller, and how to change a setting, are described in Temperature Control — Tank Heat thermostat.
PURGE
The PURGE screen runs the circulation pump by itself, with the boiler held off, to push entrapped air out of the circulation loop and into the vented storage tank. Use it at first startup and after every drain and refill.
| On the screen | Meaning |
|---|---|
Start Circ Pump |
Starts the circulation pump. Works only when the unit is stopped and no fault or reset delay is active. |
Stop Circ Pump |
Stops the circulation pump. |
Pump Running |
Shows whether the circulation pump output is on. |
Status line |
The current system state — |
While the screen is displayed, the Start button is ignored and the boiler cannot come on. The pump stops when you leave the screen, including when the password times out 5 minutes after it was entered. The full procedure is in Startup & First Heat Cycle.
Fill time limit
The fill time limit caps how long the refill pump may run continuously before the PLC declares a REFILL TIMER EXPIRED fault, latches the strobe, and locks out the system. This protects the unit from running the refill pump indefinitely on an empty supply drum, a kinked suction line, a stuck float, or a leak.
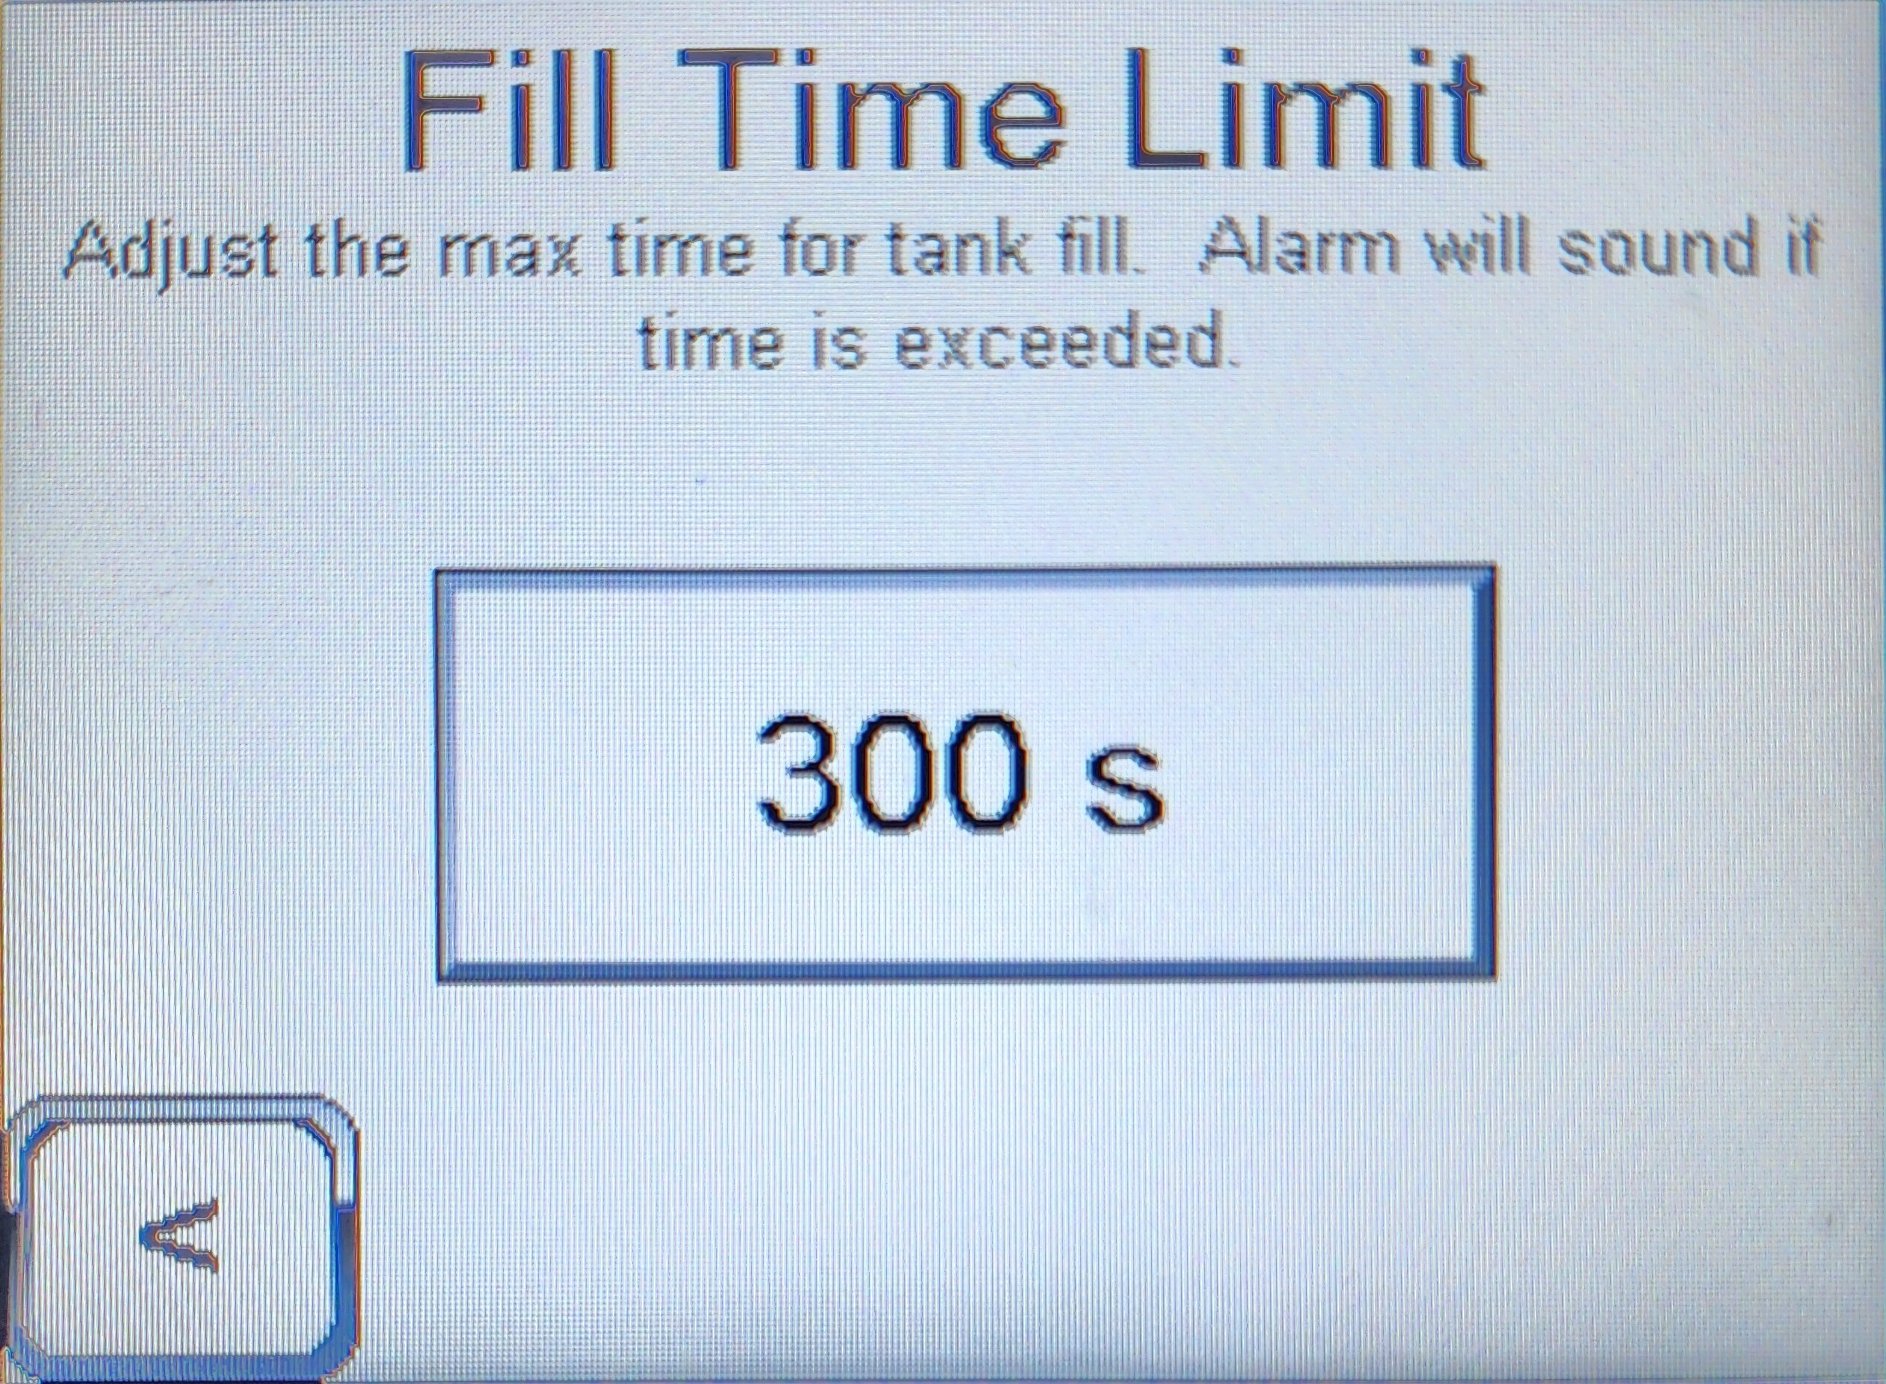
| Field | Range | Default | Meaning |
|---|---|---|---|
Time limit |
60–500 s |
300 s (5 minutes) |
Maximum continuous refill-pump run time. If exceeded, the PLC stops the refill pump, energizes the strobe, and locks out the system. |
|
Do not raise the fill time limit to work around recurring timeouts
A longer limit lets the gear-type positive-displacement refill pump run dry for longer before the fault trips, and it hides whatever is slowing the refill. The pump’s dry-running tolerance is approximately 20 minutes cumulative before pump damage. If refill cycles are regularly approaching the 300 s limit, check for:
|
If the fill time limit trips
The PLC banner reads REFILL TIMER EXPIRED. Correct the cause, press Reset, wait for the banner to settle at OFF- Ready, and press Start. Step-by-step instructions are in Troubleshooting — Resolution — REFILL TIMER EXPIRED.
See also
-
PLC Controller Overview — strobe and indicator legend
-
Refill Pressure Calibration — companion protection